Authentication
MatrixCtl supports two different ways to authenticate against the Synapse API.
1. OpenID Connect 1. Access Token
OpenID Connect
Since MAS (the Matrix Authentication Service) has become stable it became the default authentication method for many of us, it also brought the feature of refresh tokens. This means that the access token method still works, but the access tokens expire after a couple of minutes. This means that you have to swap them out basically every time you run a command. Getting long lived access tokens is not easy anymore. Therefore we added OpenID Connect support to MatrixCtl. Just like any other Matrix client, that is using MAS, MatrixCtl will do the same.
We have written a simple OpenID Connect client for it that handles the token refreshing for you.
To get started with OpenID Connect, you need to create a new client on your MAS instance.
For example:
- client_id: 01JVZSJNTM8EPFCA9R55V2PFW9
  client_auth_method: client_secret_post
  client_secret: 7eQgWf5XIwIVkrVmzc5nxw731u4Riu16YK1oHOfTDR2xU4iD7C7ijiSD8wclfTDn
  redirect_uris:
    - http://127.0.0.1:8298/callback
The client_id has to be a valid ULID. You can generate one using an ulid generator. The client_secret, for example can be generated using the openssl command: openssl rand -base64 32 | tr -d ‘n’ or pwgen -s 64 1. The redirect_uris is will be a list that only contains one entry, http://127.0.0.1:8298/callback. The client_auth_method must be client_secret_post
That’s all we need to make MAS acquainted with MatrixCtl. Now we need to tell MatrixCtl about the MAS, our OpenID provider.
Open the config.yml file and add the following lines to it:
servers:
  default:
    api:
      domain: yourdomain.tld
      auth_type: oidc
      auth_oidc:
        client_id: 01JVZSJNTM8EPFCA9R55V2PFW9
        client_secret: 7eQgWf5XIwIVkrVmzc5nxw731u4Riu16YK1oHOfTDR2xU4iD7C7ijiSD8wclfTDn
        discovery_endpoint: https://mas.yourdomain.tld/.well-known/openid-configuration

        # Optional, when discovery_endpoint is not set
        # token_endpoint:
        # auth_endpoint:
        # userinfo_endpoint:
        # jwks_uri:
To use OpenID Connect, you first need to set the auth_type to oidc. Then you either need to set the discovery_endpoint (recommended) or fill out the token_endpoint, auth_endpoint, userinfo_endpoint, jwks_uri. Then you copy the client_id and client_secret from the client you created. Make sure not to share the client_secret with anyone else. This is the secret that is used to authenticate MatrixCtl against the OpenID provider.
Now, when the Synapse API is called for the first time, MatrixCtl will use the OpenID Connect browser flow to authenticate against the OpenID provider. This will launch a browser window and ask you to login. After you have logged in, the browser will redirect to the redirect_uri you set in the client.
If everything went well, you will be authenticated and you can use MatrixCtl just like before. The current, short lived acces token will be stored, together with the refresh token and expire information in ${XDG_DATA_HOME}/matrixctl/oidc_token_cache.json (most likely ~/.local/share/matrixctl/oidc_token_cache.json). Just like with the client_secret, make sure not to share this file with anyone else.
Access Token
If you haven’t jumped onto the OpenID Connect bandwagon yet, you can still use MatrixCtl with the access token method. This is the old way of doing things and is less complex than using OpenID Connect. The access token is a long lived (when not using MAS) and can be found in the Element web client. As long as the element session is active, the access token is valid.
If you don’t have any users yet, and you are using the Ansible playbook, you can easily create a user account with the playbook. Just run the following command (given, that you configured the playbook in the MatrixCtl config file). If you already have a user account, you can skip this step and continue below.
$ matrixctl adduser --ansible --admin myusername
Password:
Password (again):
Username: myusername
Password: **HIDDEN**
Admin:    yes
Is everything ok? [y/n]y

PLAY [Set up a Matrix server] *********************************************************************************

[...]

PLAY RECAP ****************************************************************************************************
matrix.michaelsasser.org   : ok=24   changed=0    unreachable=0    failed=0    skipped=34   rescued=0    ignored=0
Note
If you don’t enter a password and press [ENTER] twice, a password will be generated for you. If you are satisfied with it, enter [y].
Now you have created your user with the user name “myusername”. The argument
--admin makes sure, that you create an administrator account instead of an
user account. The --ansible argument is needed, because you currently have
no access to the admin API. After all that steps you don’t need the
--ansible argument anymore.
Note
You can use this user account as your personal main user account.
Note
If you have already created an admin user account ignore this step and continue below.
Now Open https://element.yourdomain.tld to login.
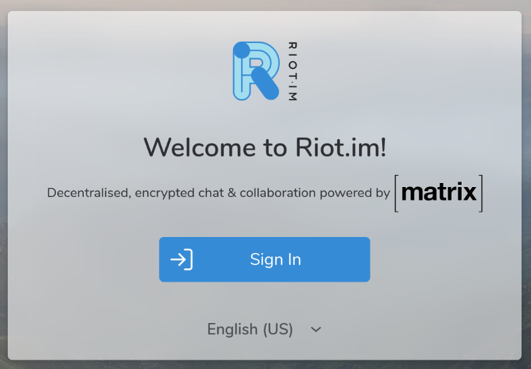
Fig. 1 The Element loginscreen
Click on “Sign In” and enter your credentials. In this example, we used “myusername” for the user and the entered password to login.
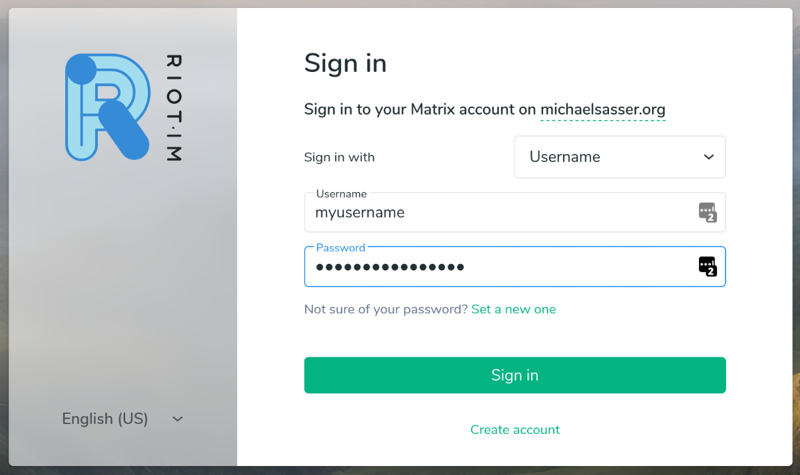
Fig. 2 Entering credentials
After you are logged in, click on your user name in the top right corner. A
small window will pop up. Click on Settings.
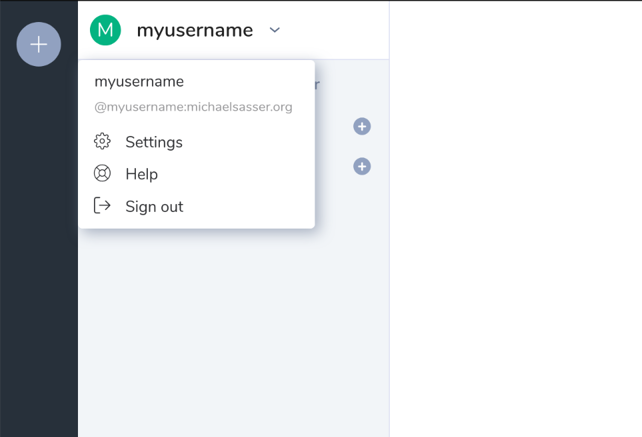
Fig. 3 Click on “Settings”
A bigger window with your user settings will pop up. Click on Help & About
on the left side of that window. If you scroll down on the right
hand side of this window, you will find the Advanced section.
In the Advanced section you find Access Token: <click to reveal>.
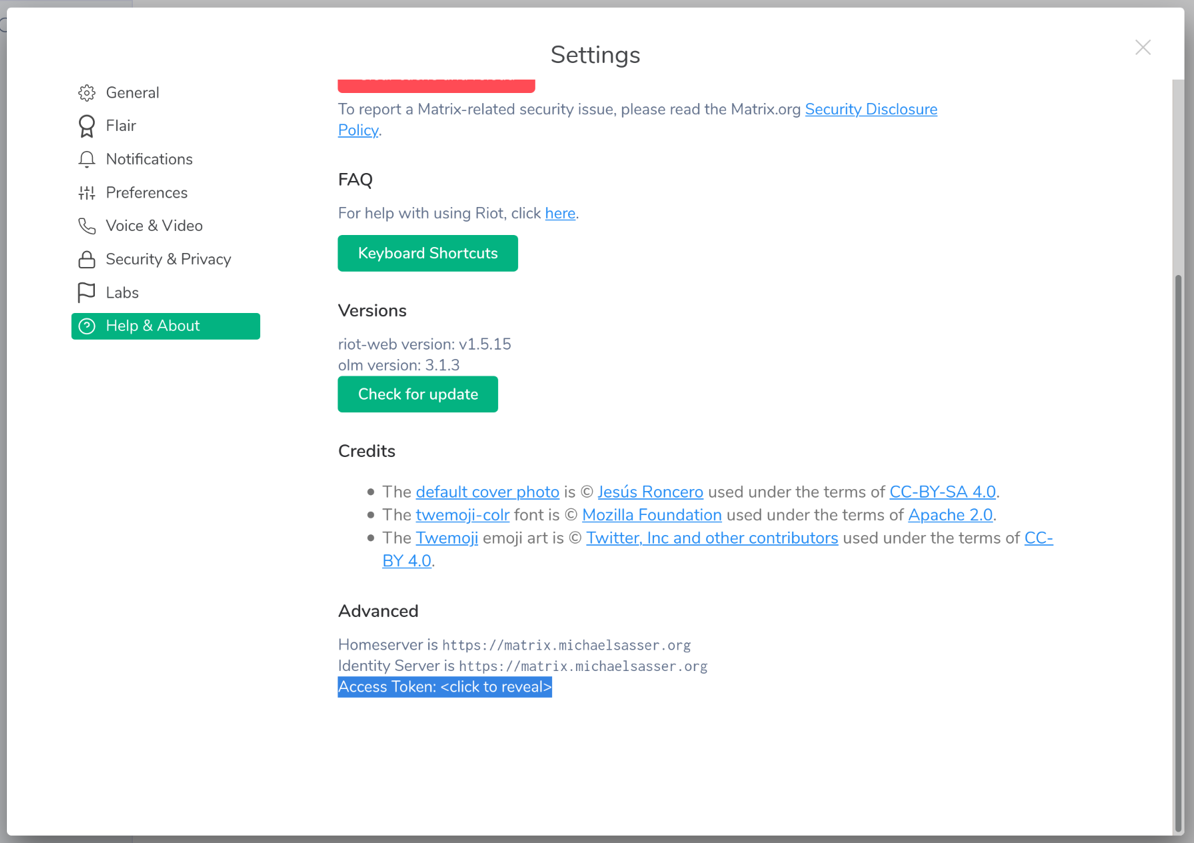
Fig. 4 Click on “<click to reveal>”
Now click on <click to reveal>.

Fig. 5 The revealed access token
This is your access token. It is already highlighted for you. Just copy it into
the config file into the api section.
Copy The Token
Now you can copy the token into the api section of your config file.
If you don’t have a config file head over to the Config File chapter.
...
api.
  domain: yourdomain.tld
  token: MDAxZmxvY2F0aW9uIG1pY2hhZWxzYXNzZXIub3JnCjAwMTNpZGVudGlmaWVyIGtleQowMDEwY2lkIGdlbiA9IDEKMDAzMGNpZCB1c2VyX2lkID0gQG15dXNlcm5hbWU6bWljaGFlbHNhc3Nlci5vcmcKMDAxNmNpZCB0eXBlID0gYWNjZXNzCjAwMjFjaWQgbm9uY2UgPSA3WkB1KkdyY3JTRG1CI3Z0CjAwMmZzaWduYXR1cmUgJblnYOAEQJVeHaMgwnMsAagpZBc8CIC6Dwwy027tfJAK
...
Note
To be able to use the admin API, you need to have
matrix_static_files_container_labels_base_domain_enabled: true
and
matrix_synapse_container_labels_public_client_synapse_admin_api_enabled: true
in your vars.yml file. This will stop the playbook from setting
up a redirect ``matrix.yourdomain.tld to
element.yourdomain.tld
Warning
Never ever, ever give this token to anyone else. If you have other administrators on that server, they should use their own token. With this token you can login and do anything on that matrix instance in your name.